Shoring Deep Excavations Along the Existing Foundation
Deep excavations next to existing structures are rarely about digging ! They’re about restraint.
When you remove 8–10 feet of soil beside an active structure, you’re not just creating space for a new foundation - you’re disturbing a stress equilibrium that has existed for decades.
This small case study walks through how we approached a tight urban excavation where:
Retained height around 10 feet
Existing grade beams and footings were directly adjacent
Tiebacks were limited in several directions
Sequencing and constructability were just as important as calculations
The system itself wasn’t revolutionary, The thinking behind it is what mattered.
Live Earth Pressure Simulator
PUSHING HARDER
Select a depth to see the Rankine Pressure Triangle grow. At 10ft, the pressure isn't just double—the total force is 4x greater than at 5ft because the "area" of the triangle grows both deeper and wider.
Step 1: Choosing the Right Shoring System
For this excavation, we selected a soldier pile and lagging system using:
W6x15 steel soldier piles
Rough-cut hardwood lagging
Minimum embedment below excavation bottom
Drainage relief between boards
Why soldier piles?
Because they offer:
Low vibration installation
Flexibility in irregular geometry
Predictable staged performance
Contractor familiarity
Adaptability when field conditions shift
In constrained space, reliability beats novelty.
Soldier Piles
Low Vibration Tight Space Budget FriendlySecant Piles
Low Vibration Tight Space Budget FriendlySheet Piling
Low Vibration Tight Space Budget FriendlyStep 2: Embedment Is Not Just a Number
One of the most common misunderstandings in temporary shoring is that embedment is simply “what the calc says.”
It’s not !
Embedment controls:
Passive resistance mobilization
Rotation control at the toe
Overall system stiffness
Bracing demand above
The embedment depth here was set to ensure sufficient passive resistance beneath the excavation bottom, not just to prevent failure - but to reduce movement.
Because in these scenarios, movement is the real enemy.
Embedment Depth & Stability
Step 3: When Tiebacks Aren’t an Option
In an open site, tiebacks are often the first choice.
But when adjacent structures, utilities, or property constraints prevent anchor installation, the design must adapt.
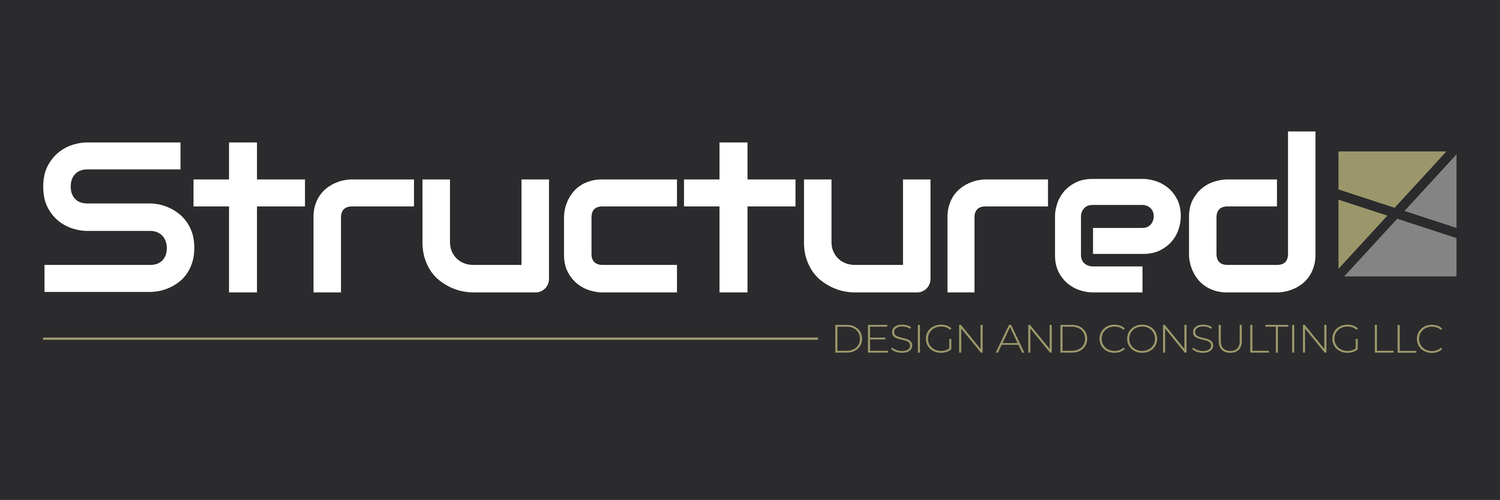
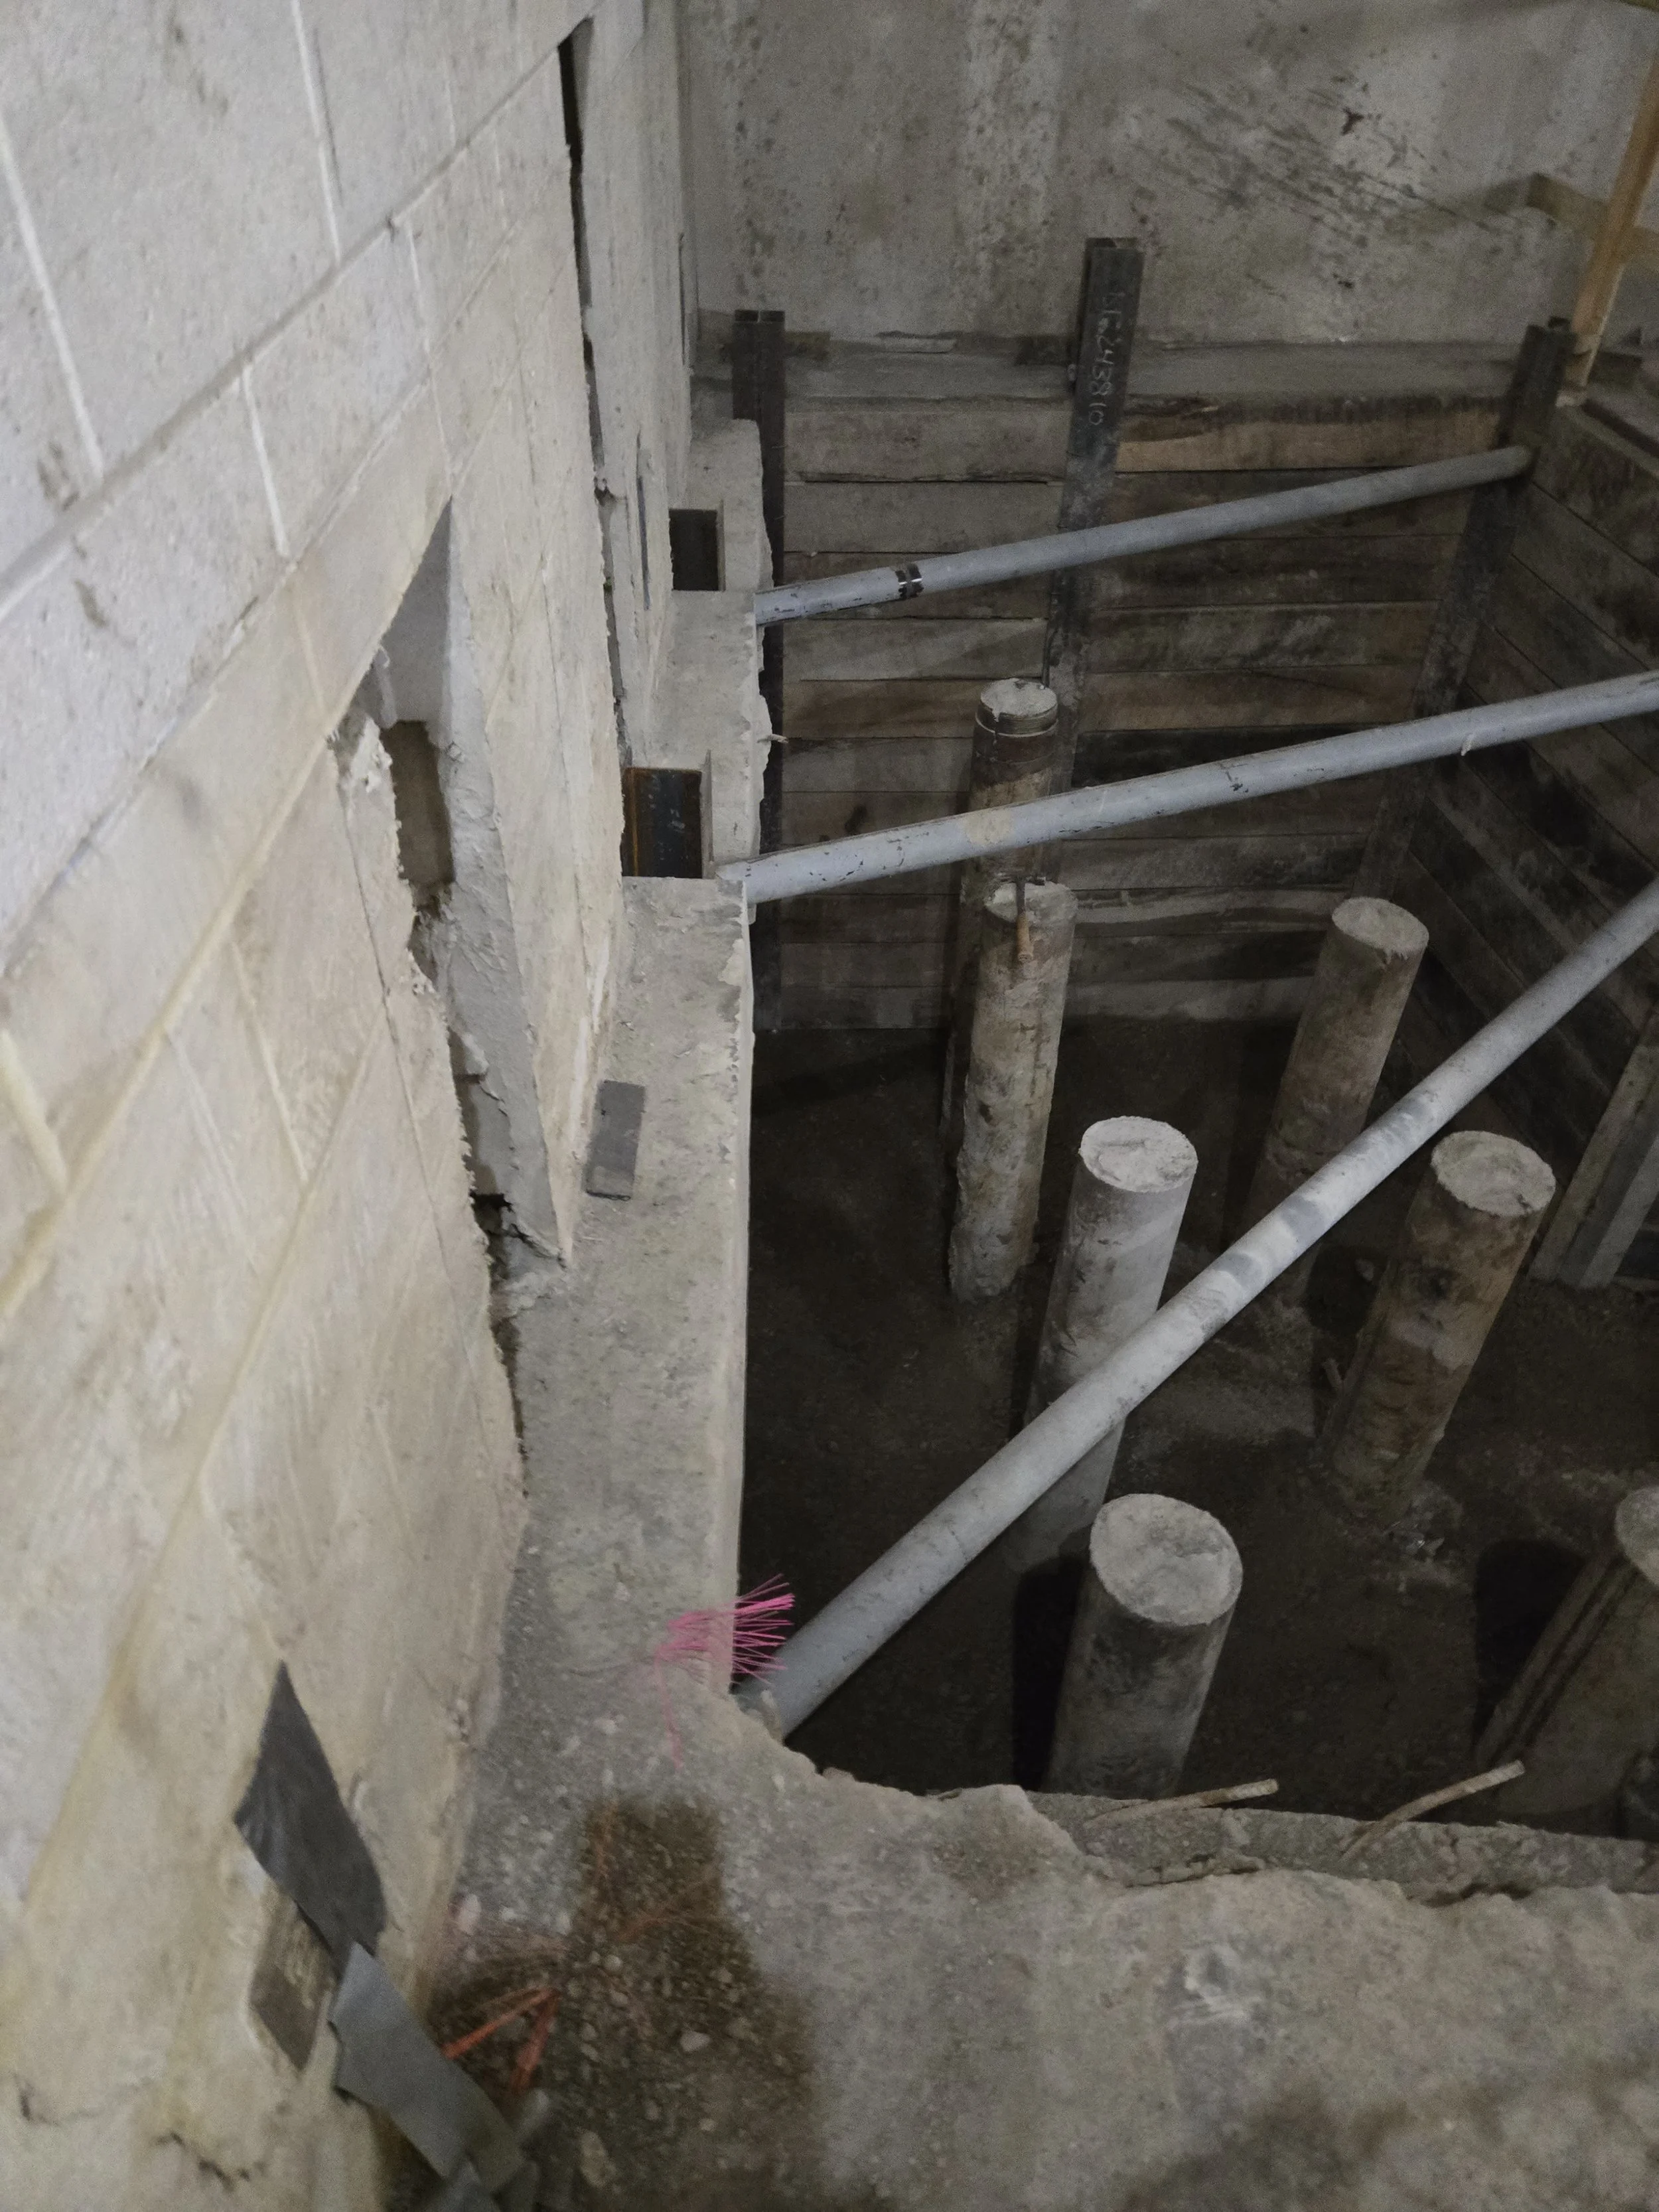
In this case, portions of the excavation required internal pipe bracing instead of tiebacks. The system incorporated:
Horizontal pipe braces
Angled brace orientations to match geometry changes
Welded brace connections centered over the H-pile web
Phased installation as excavation progressed
Internal bracing increases structural demand on the soldier piles - but when detailed properly, it creates a stable triangulated system that performs reliably.
The key is sequencing.
Shoring Selection: Tiebacks vs. Bracing
Choose a support system to see site constraints and work-space impacts.
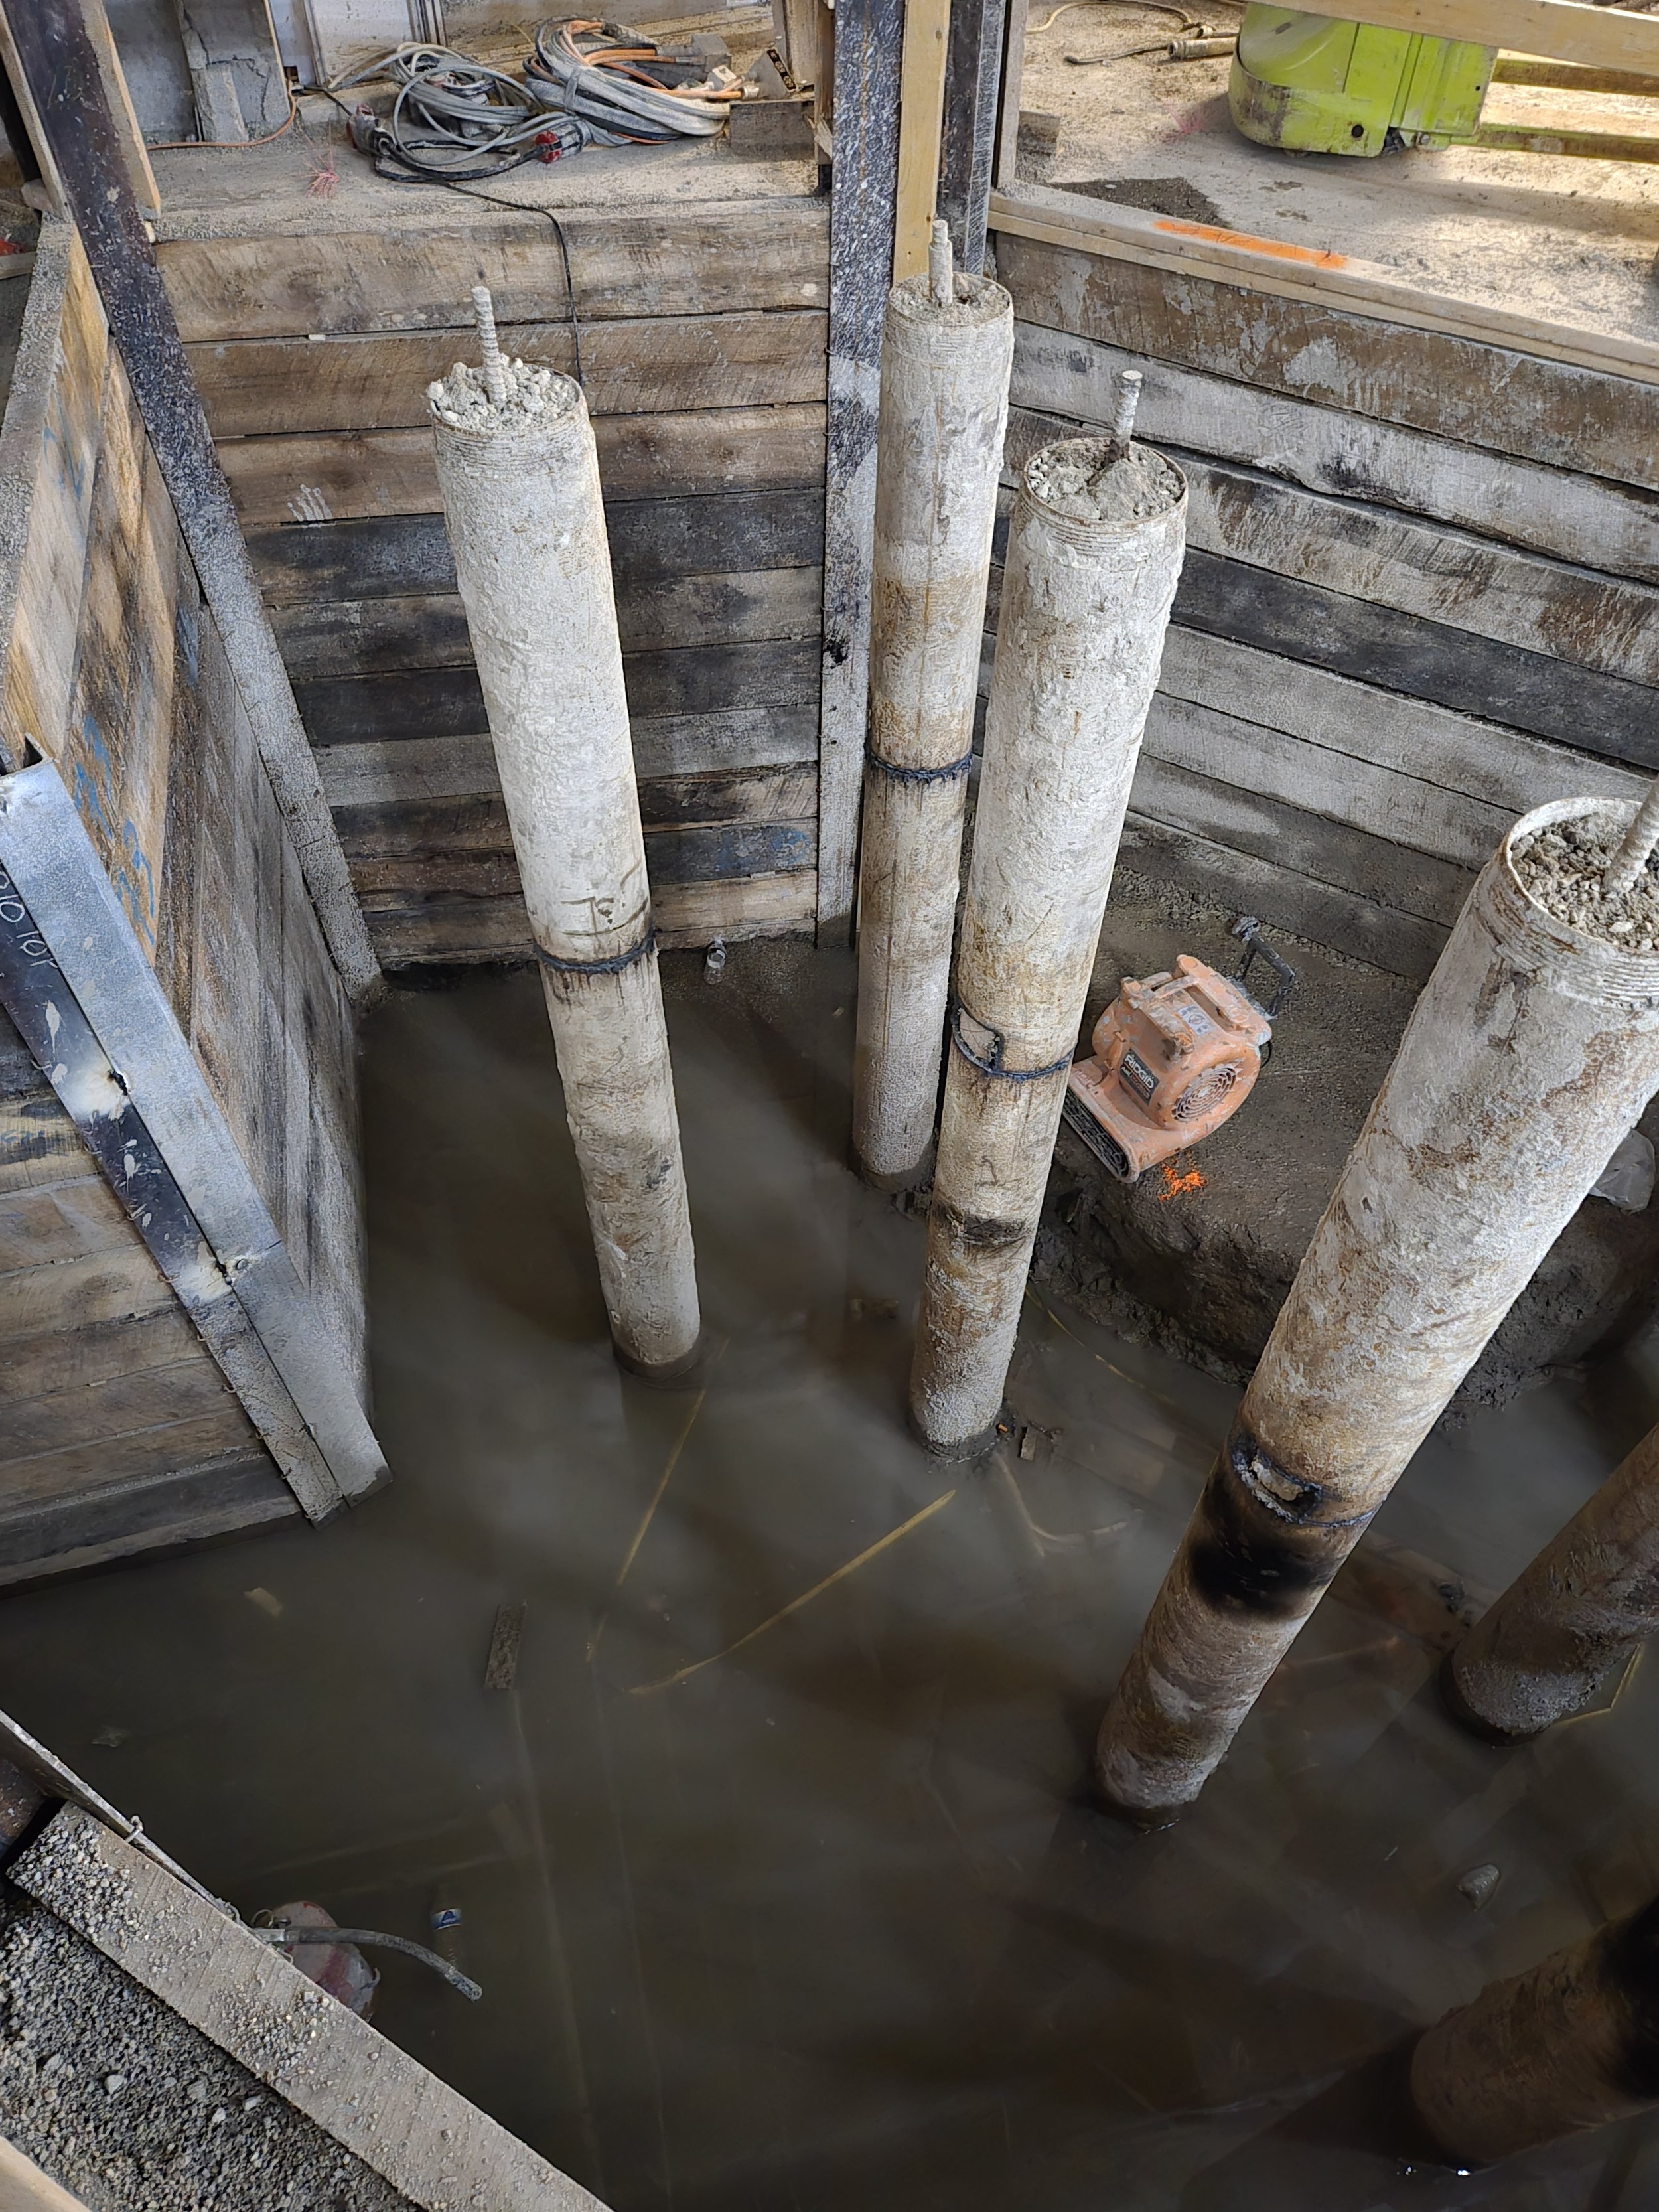
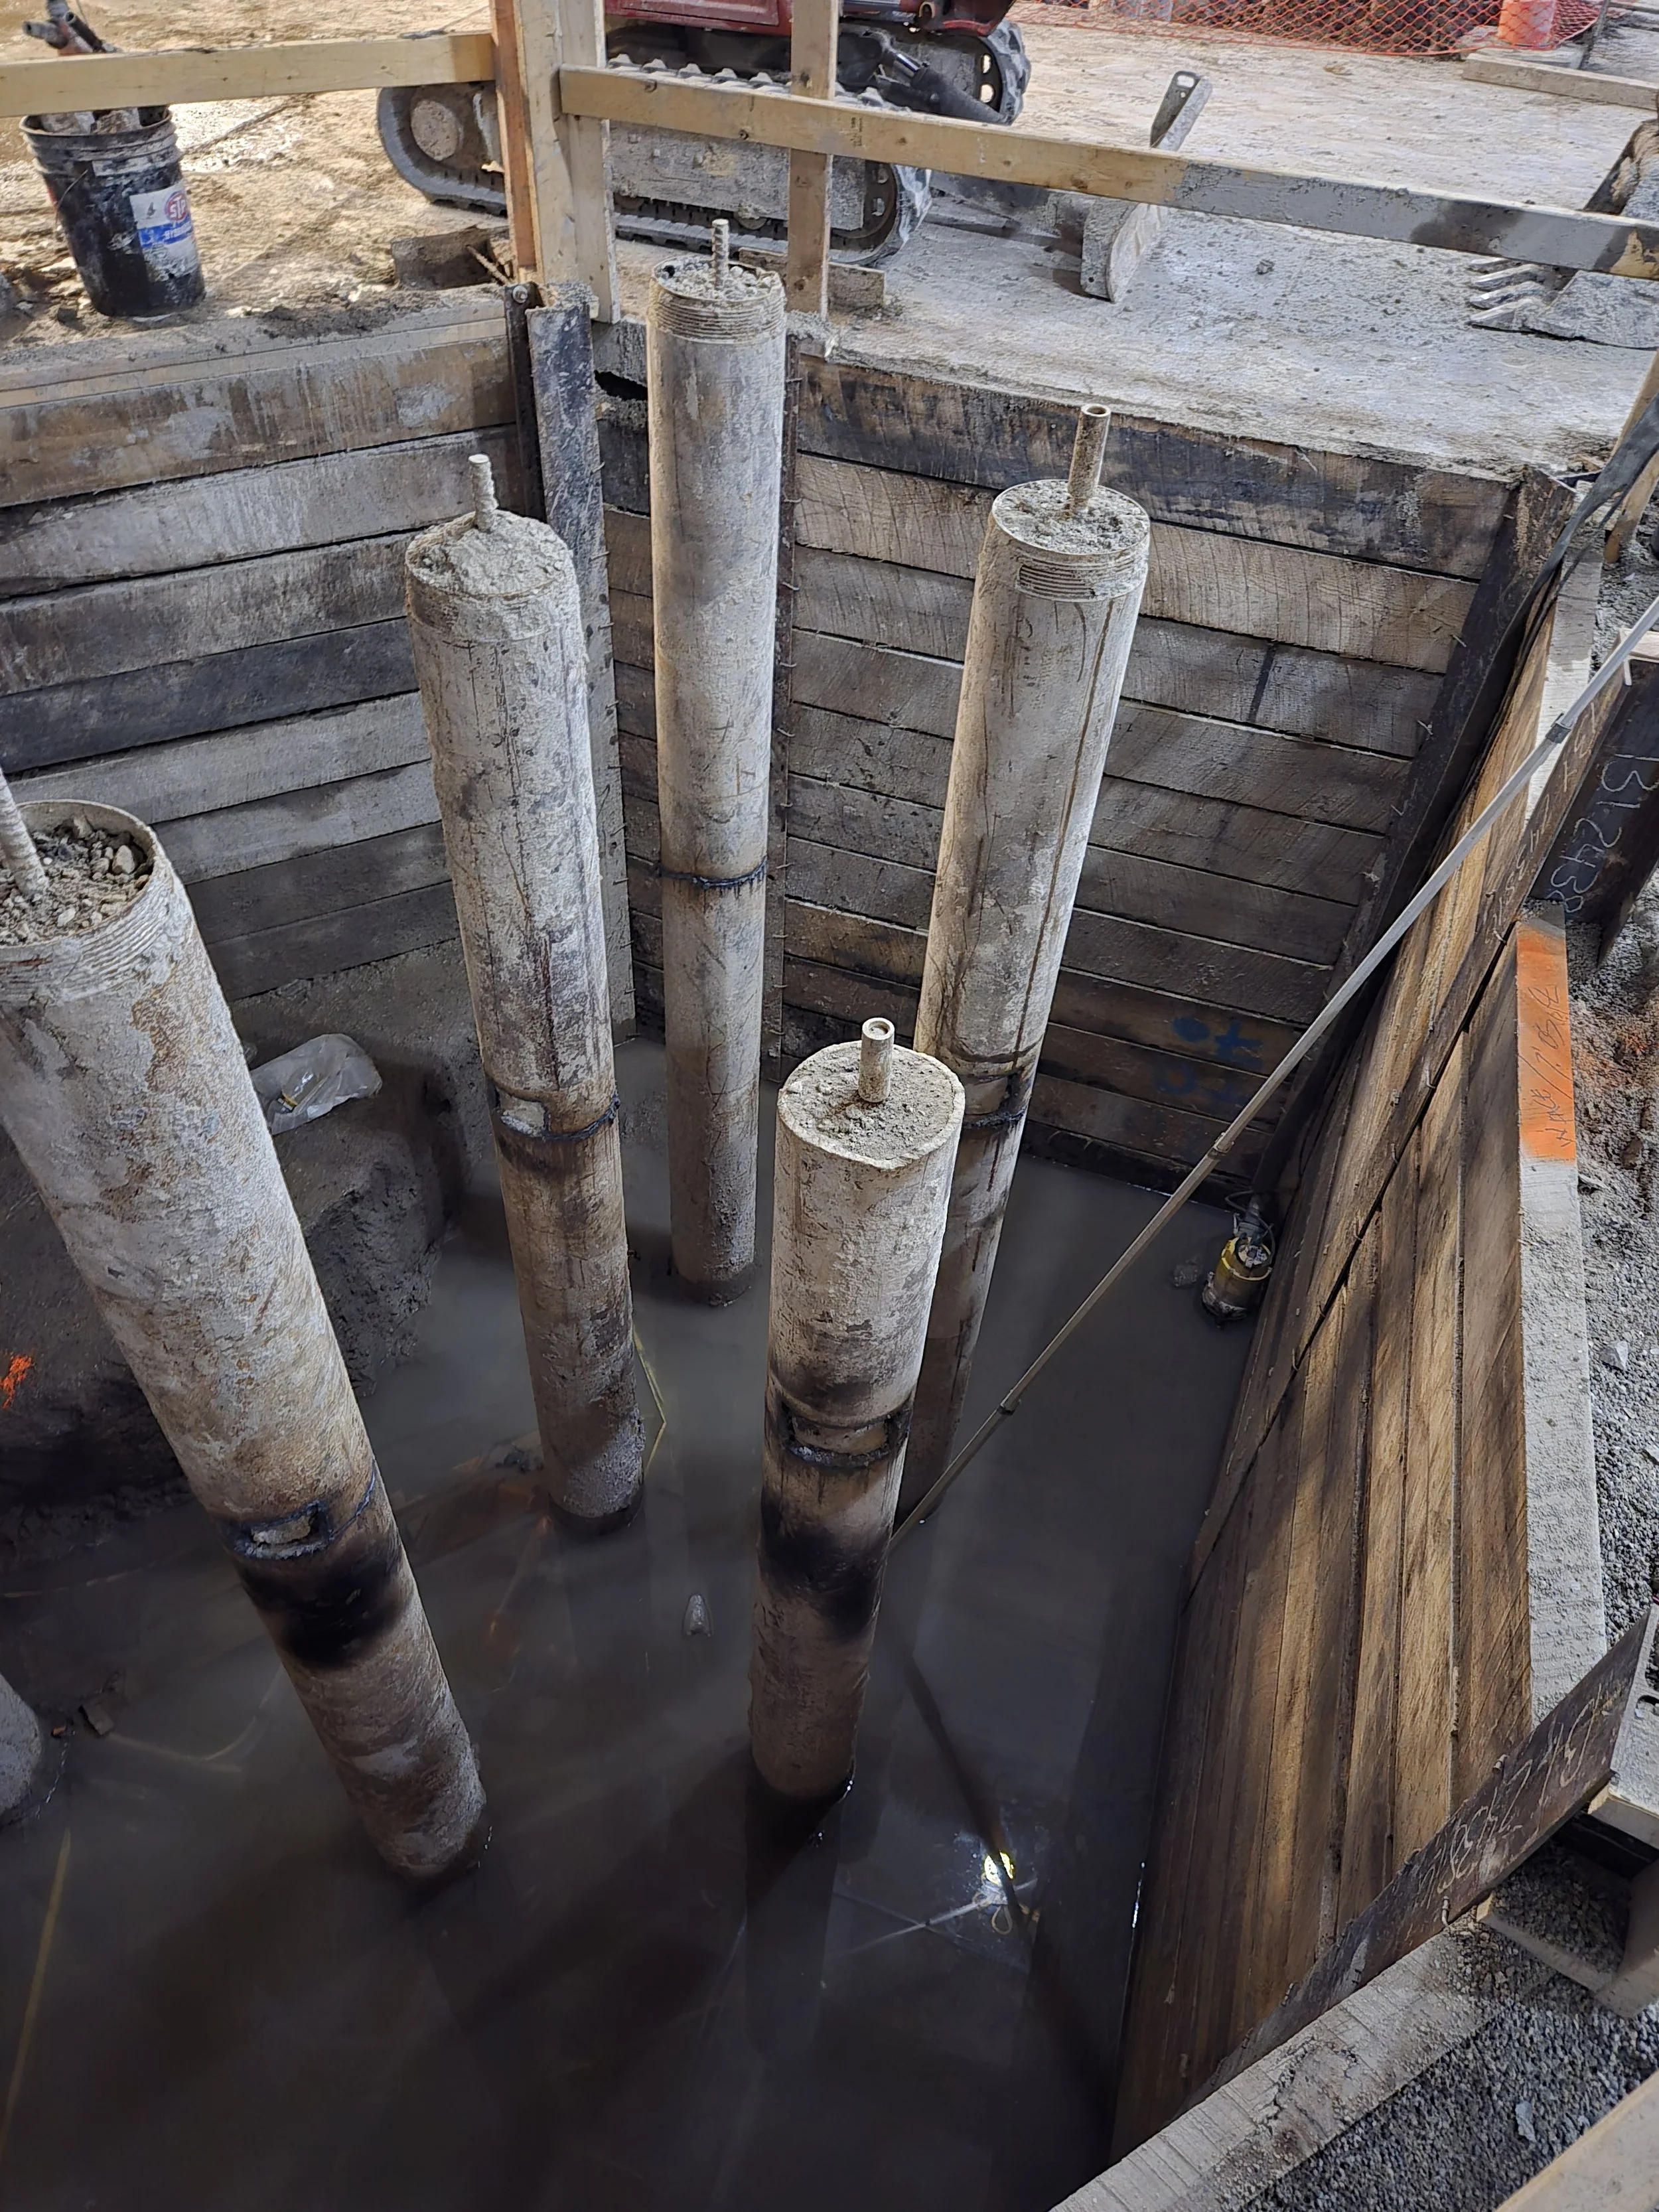
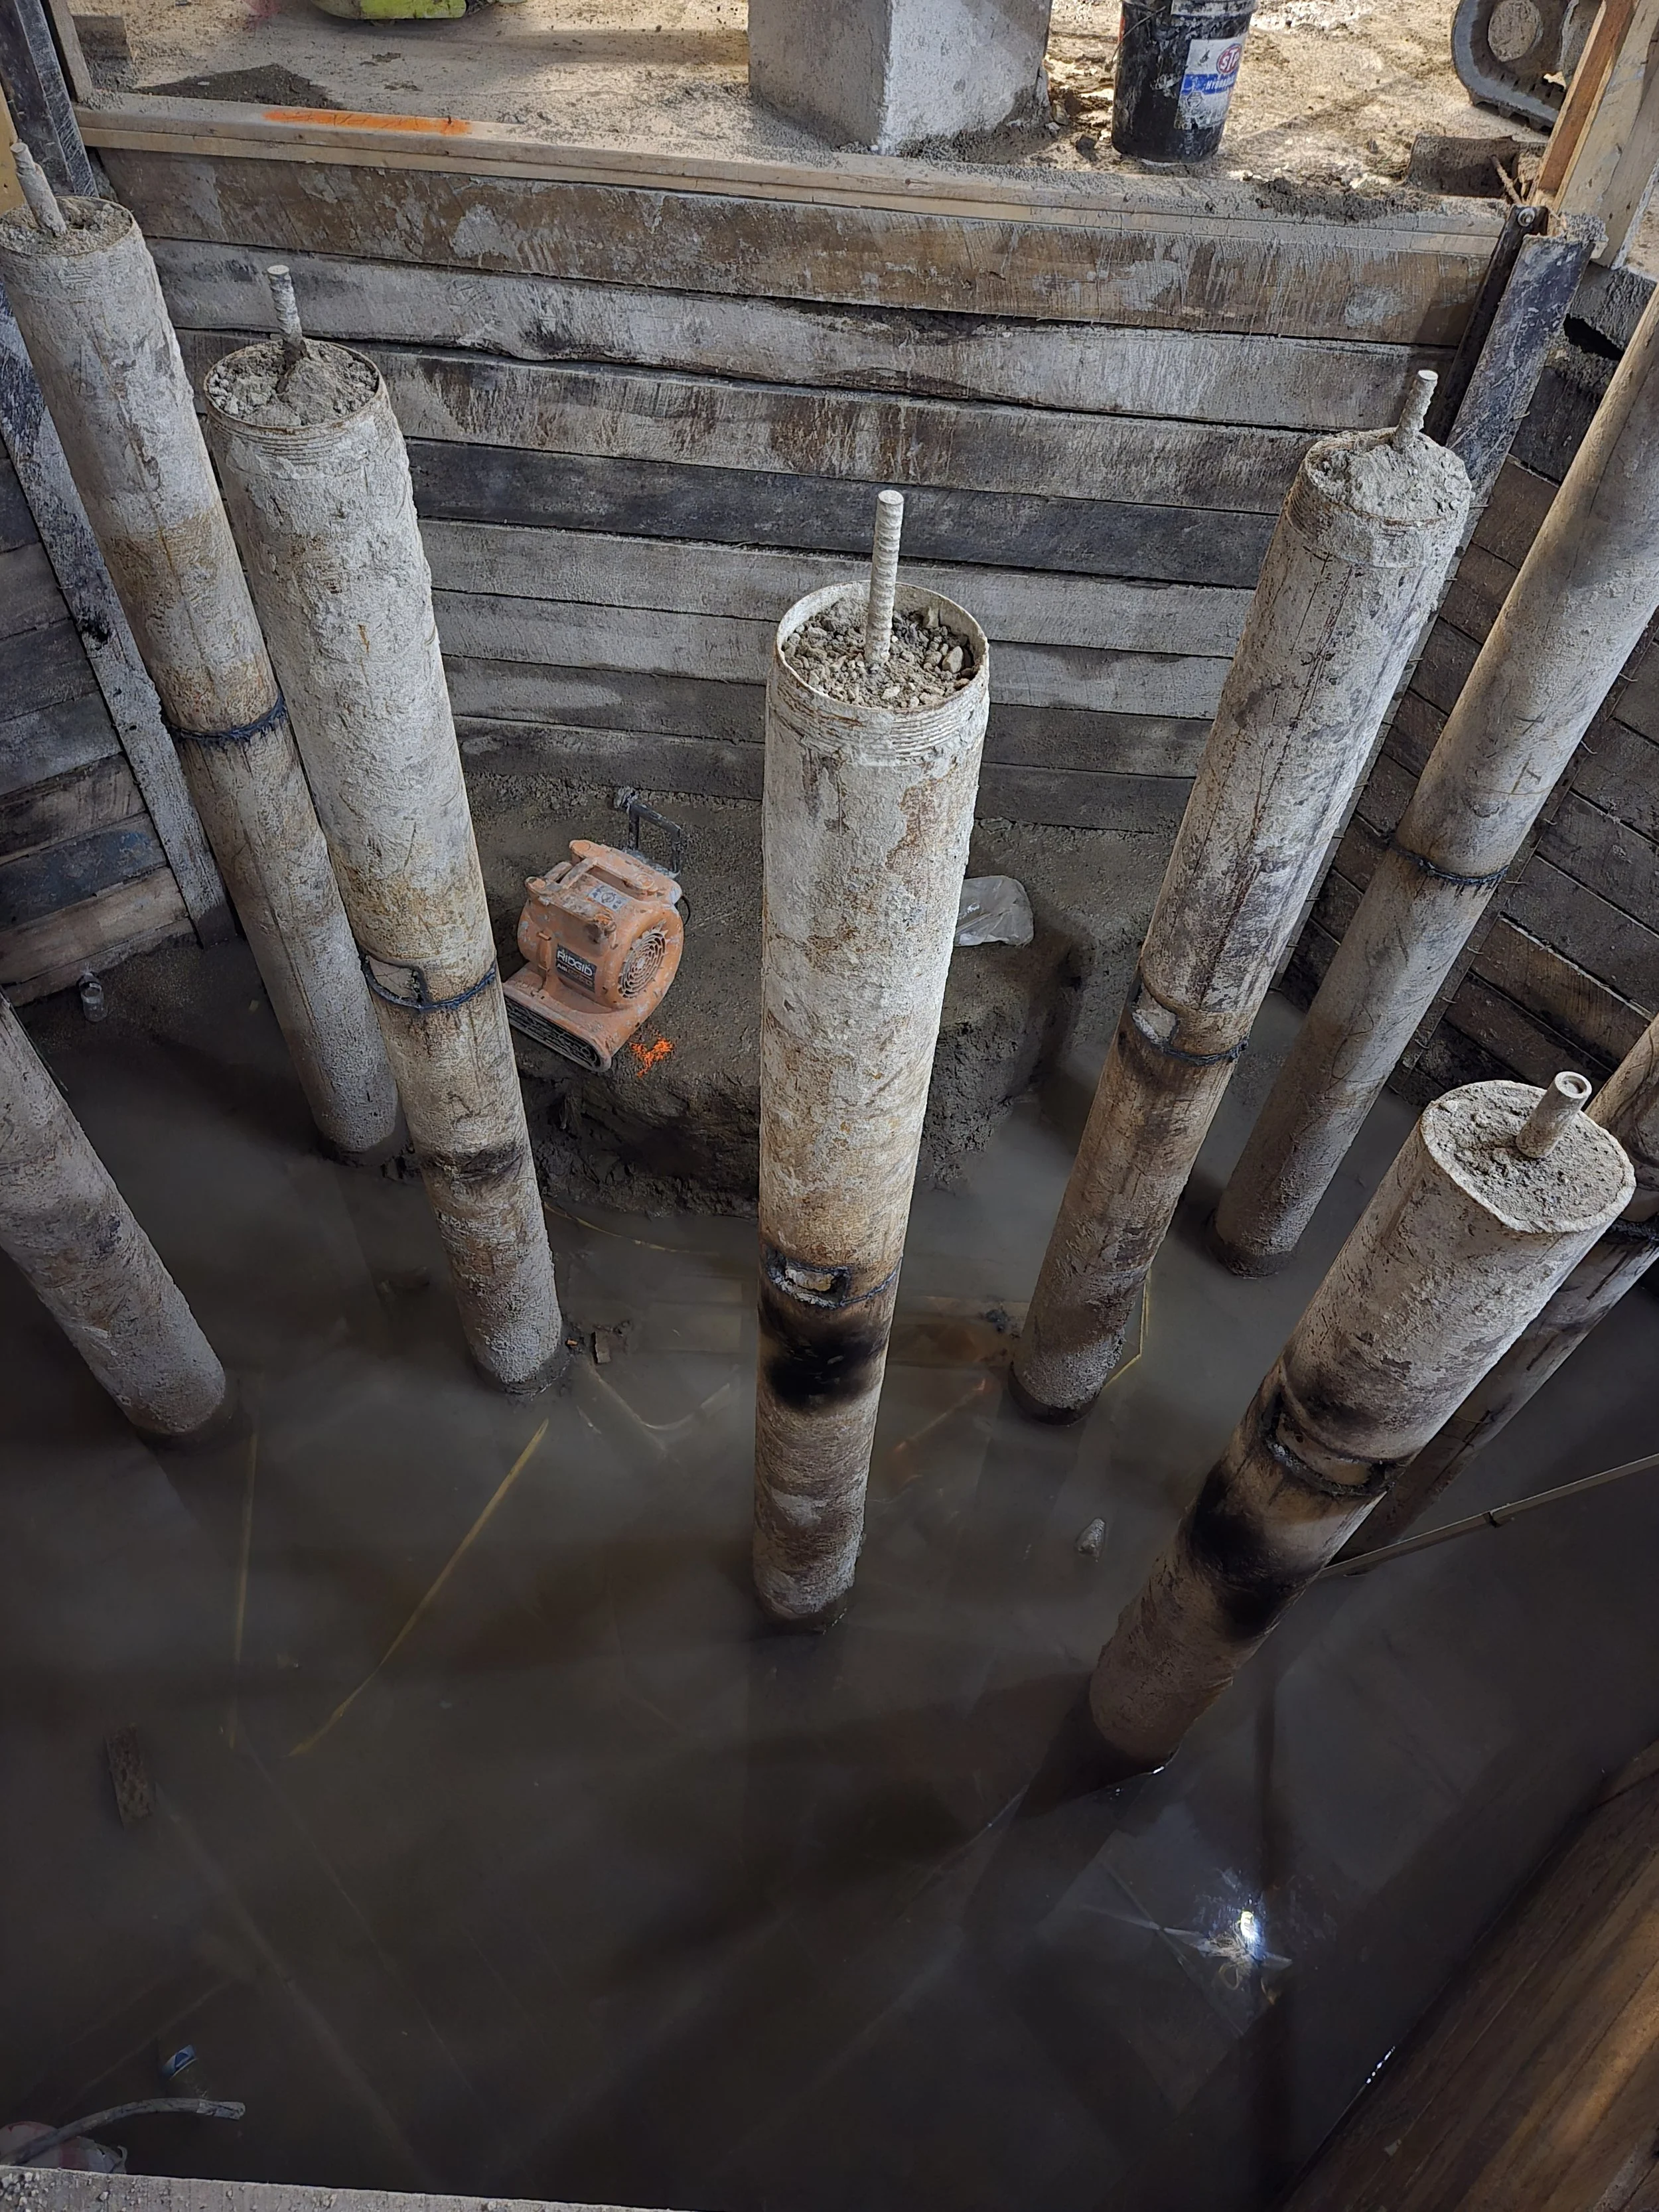
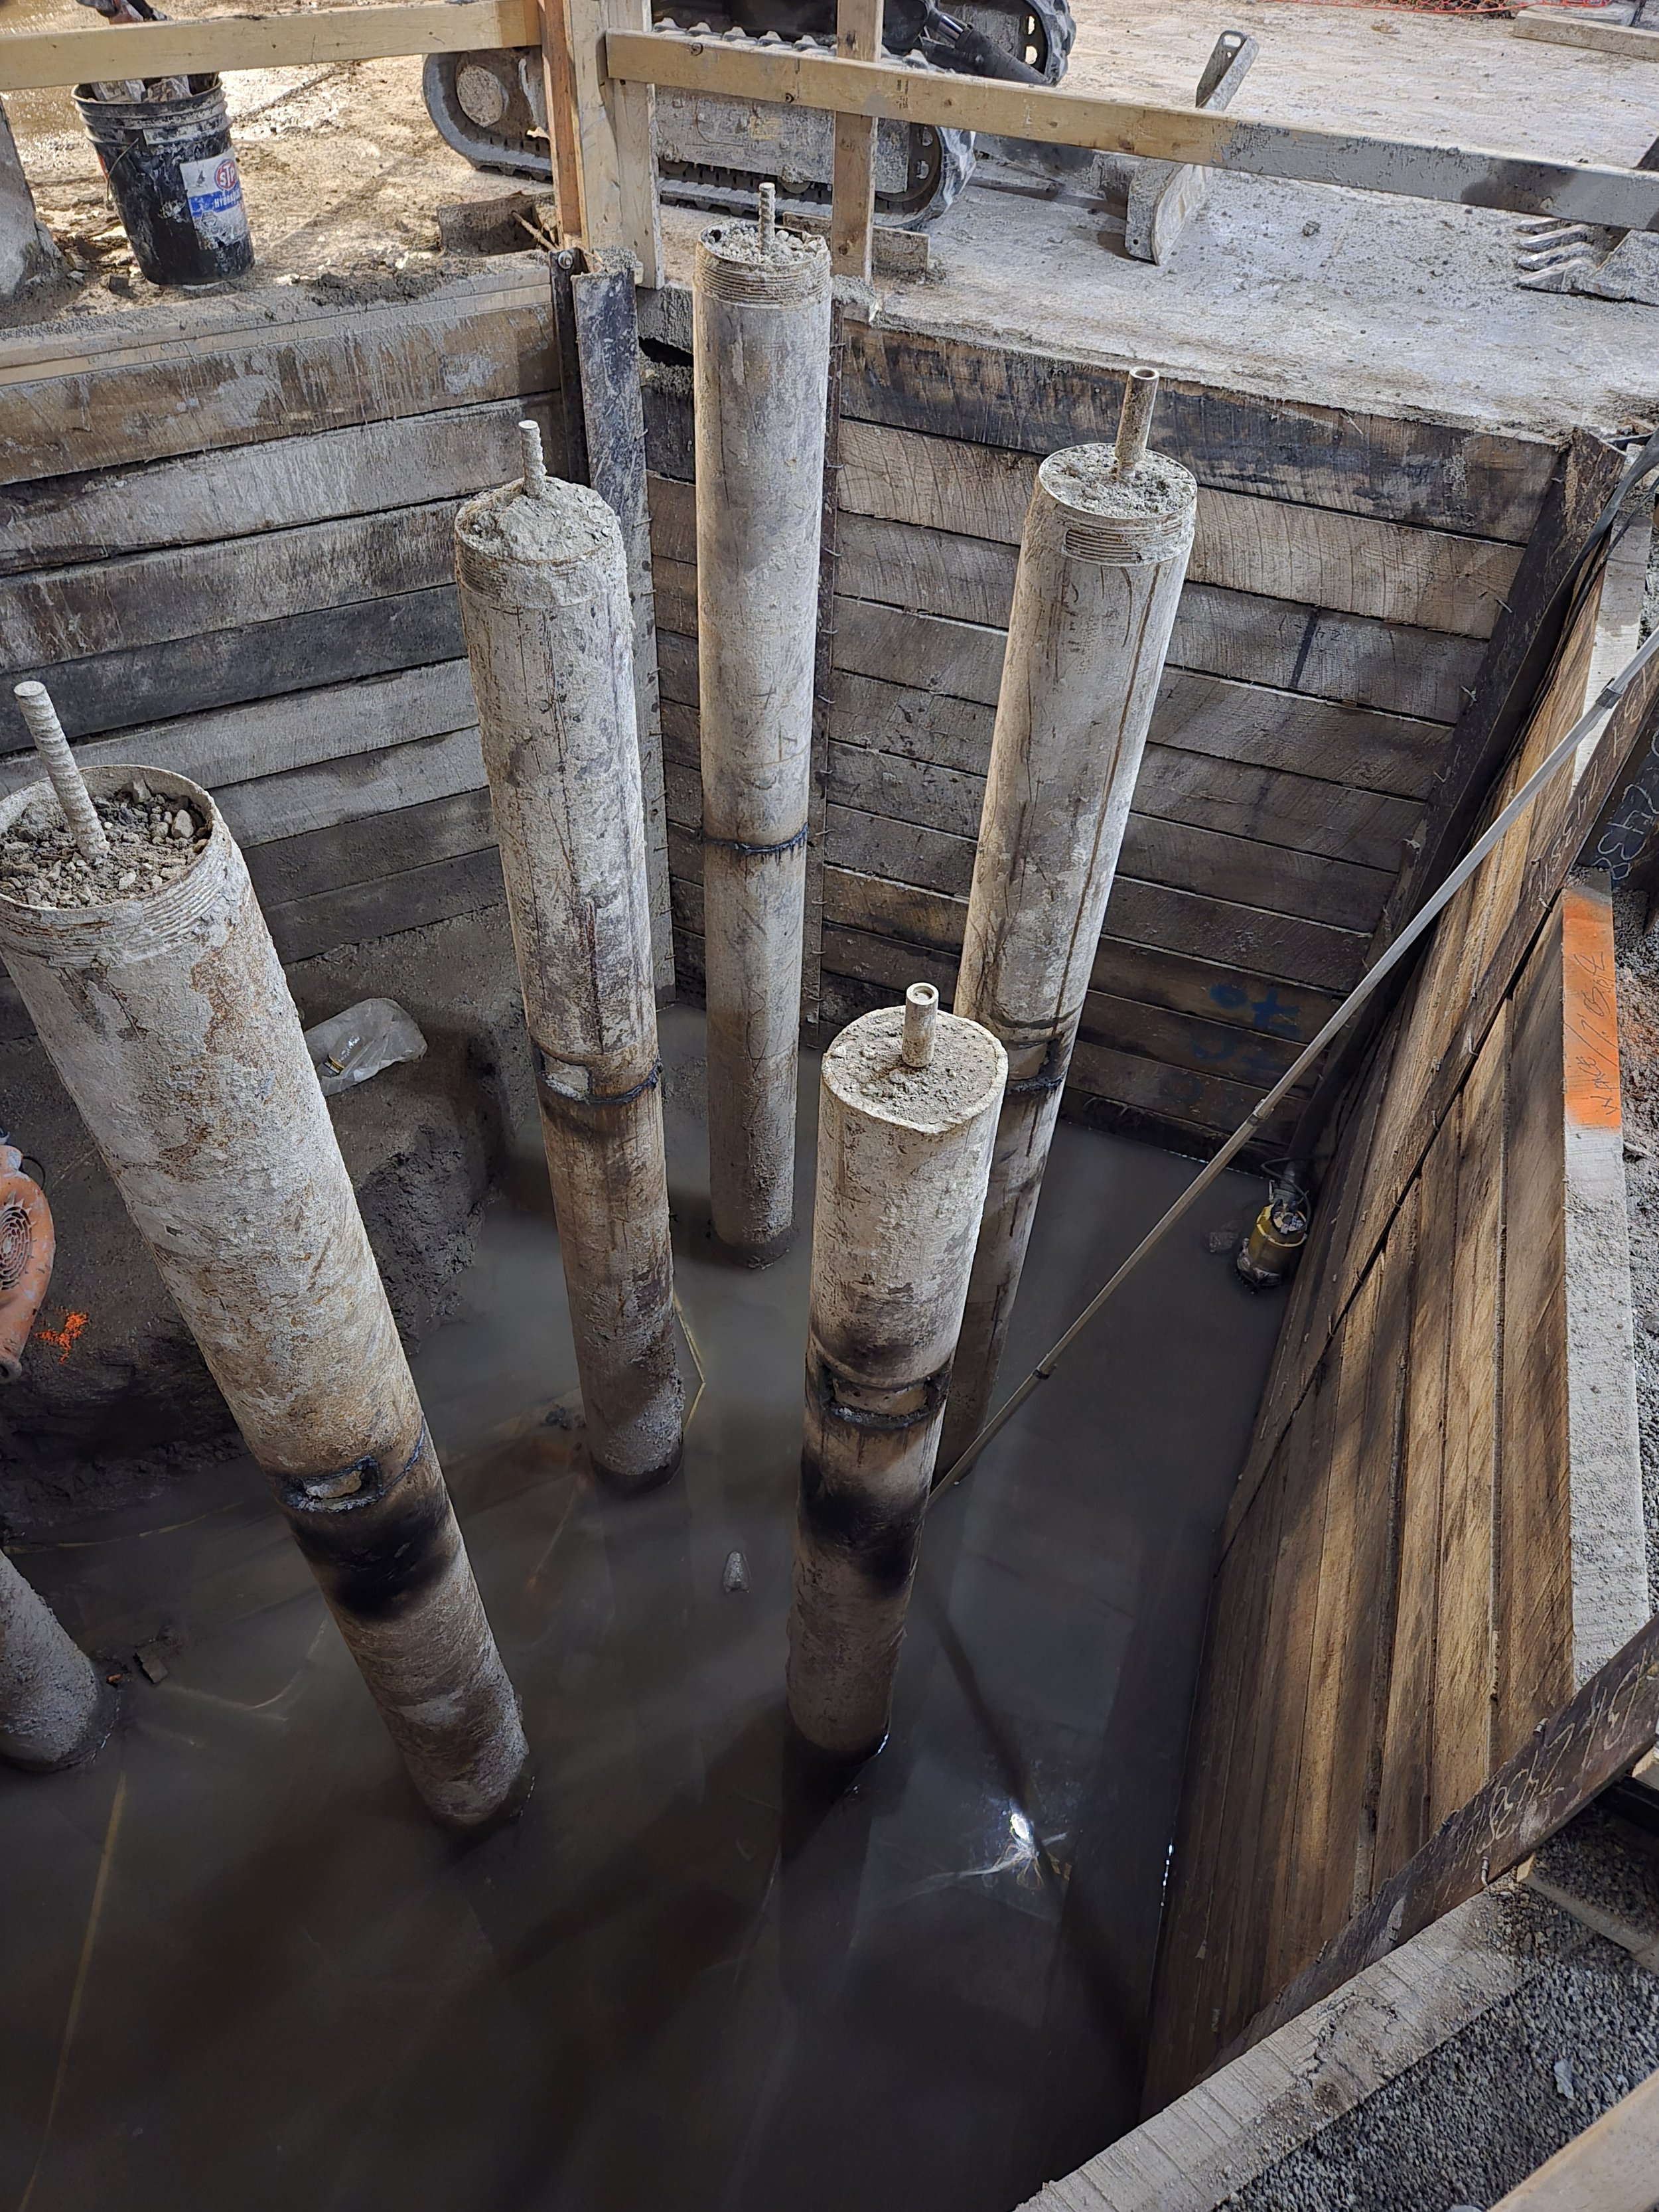
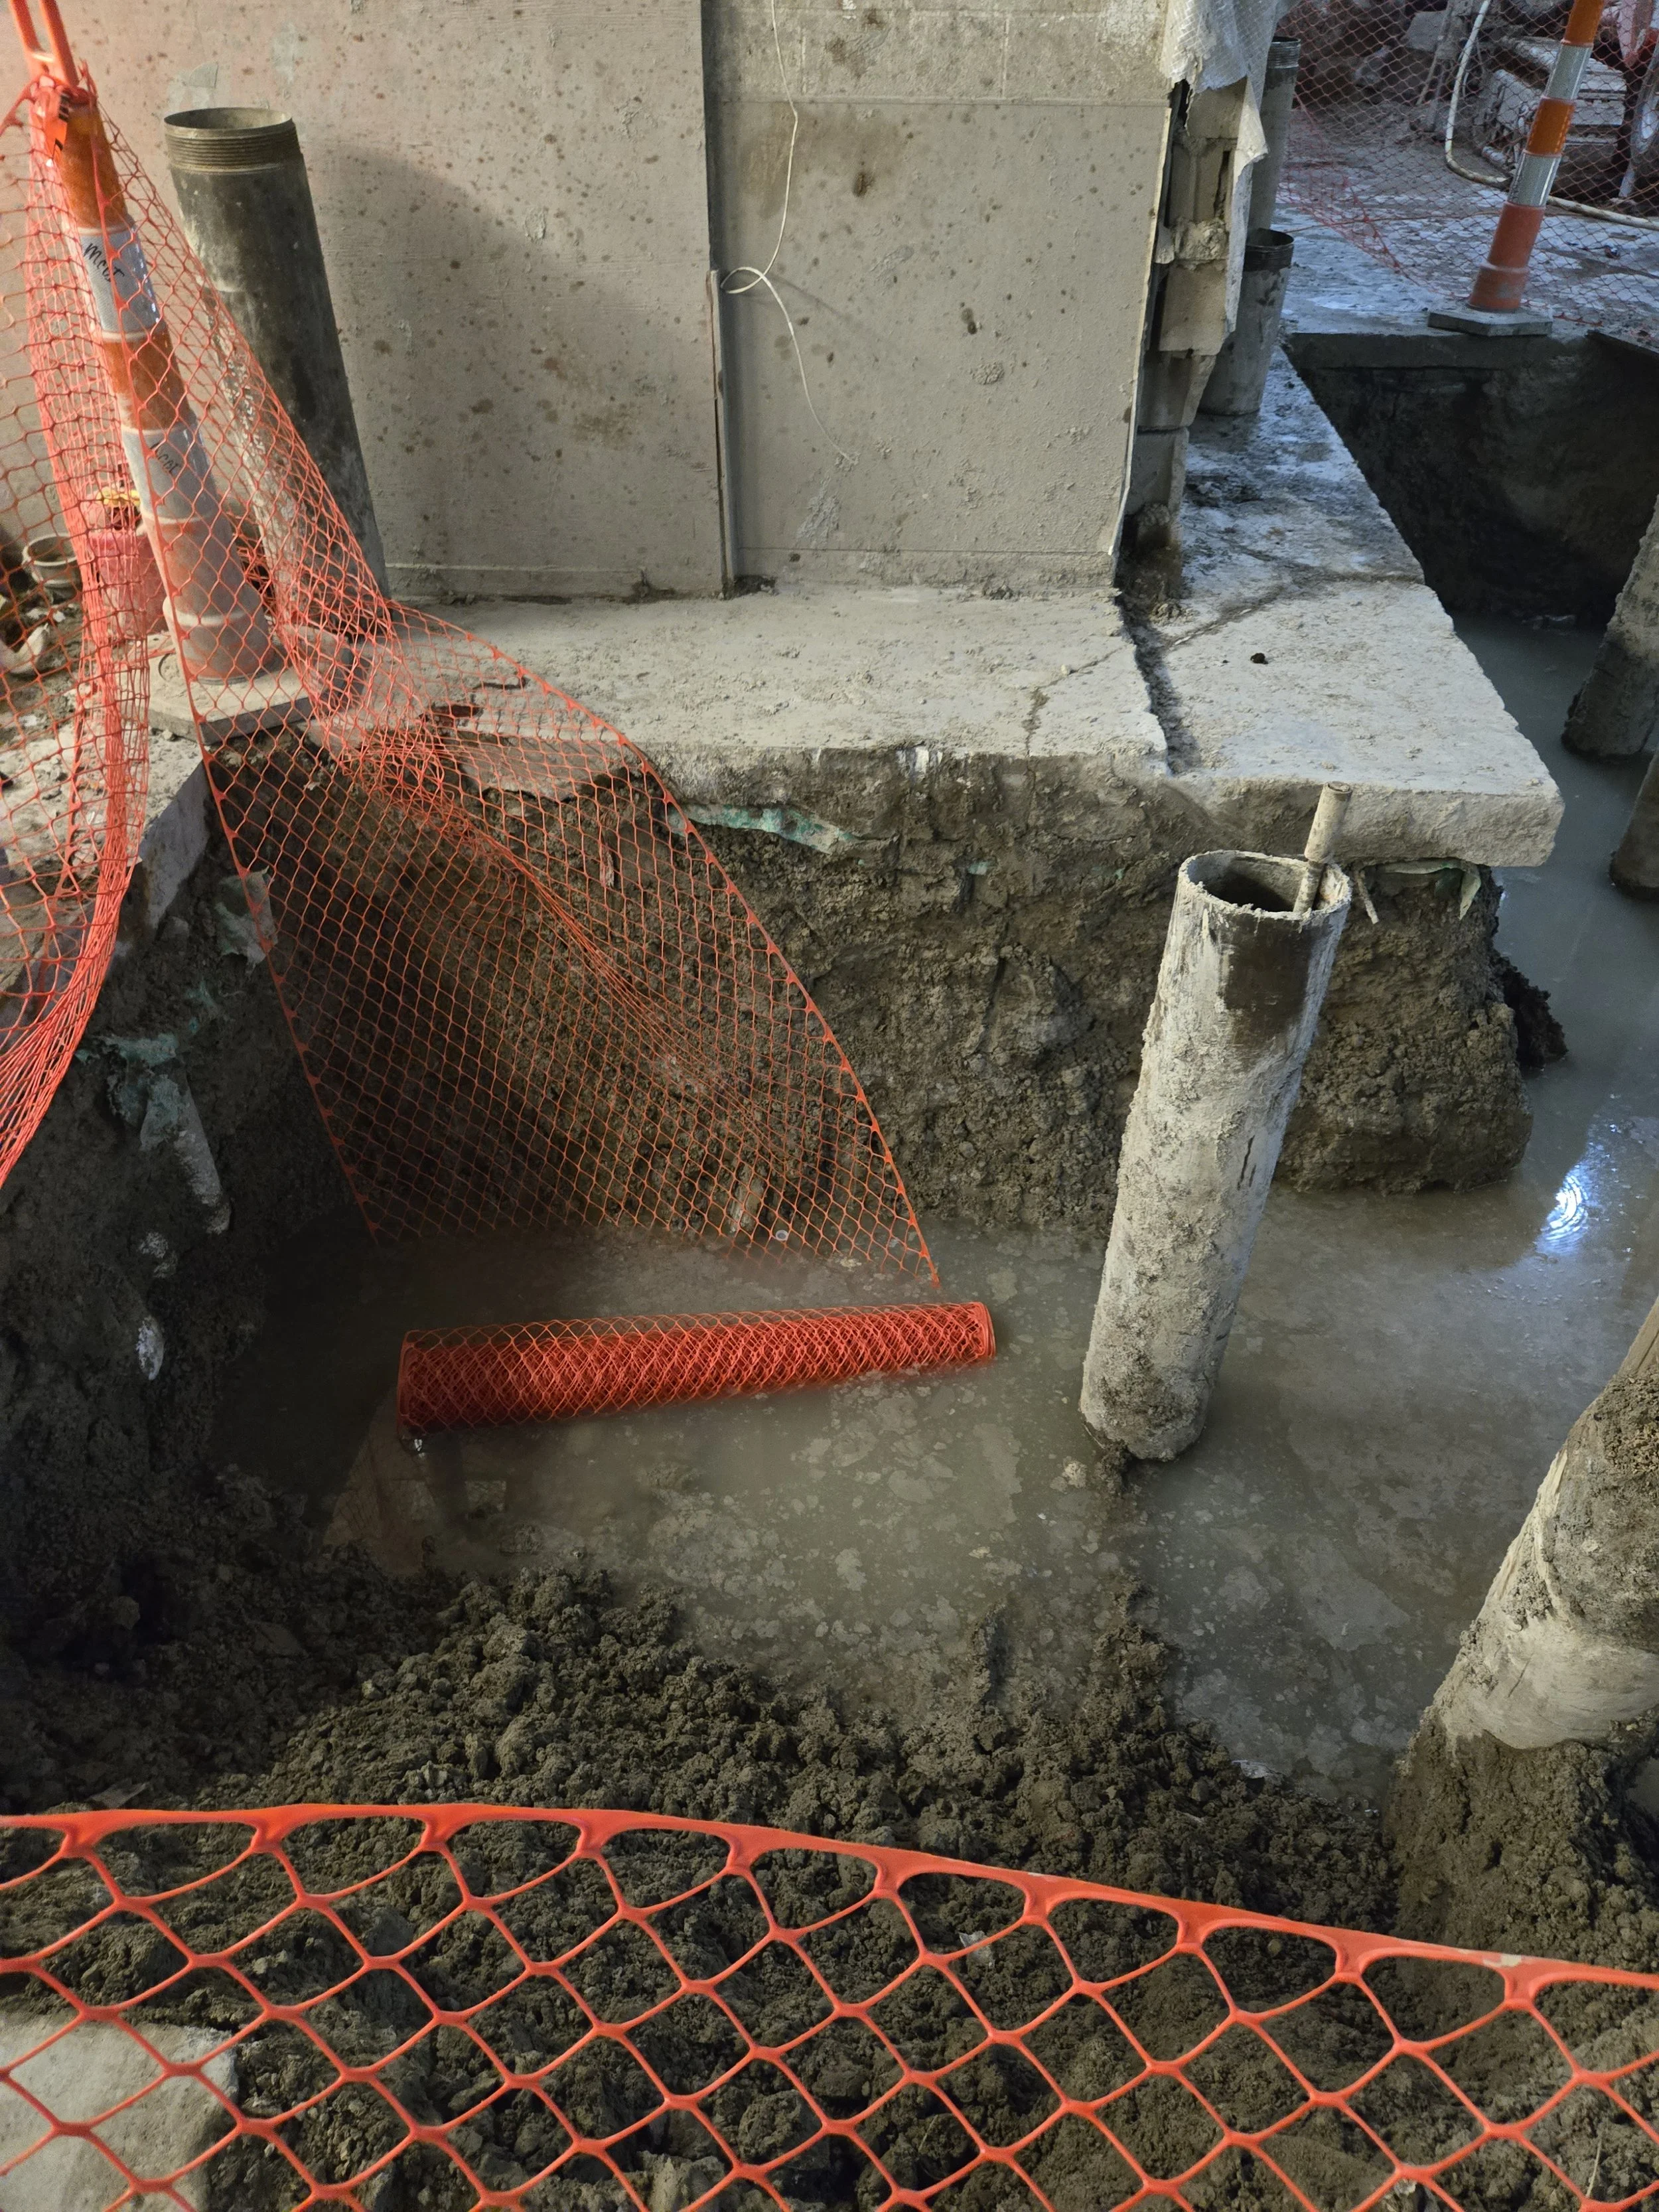
Step 4: Sequencing - The Part That’s Rarely Discussed
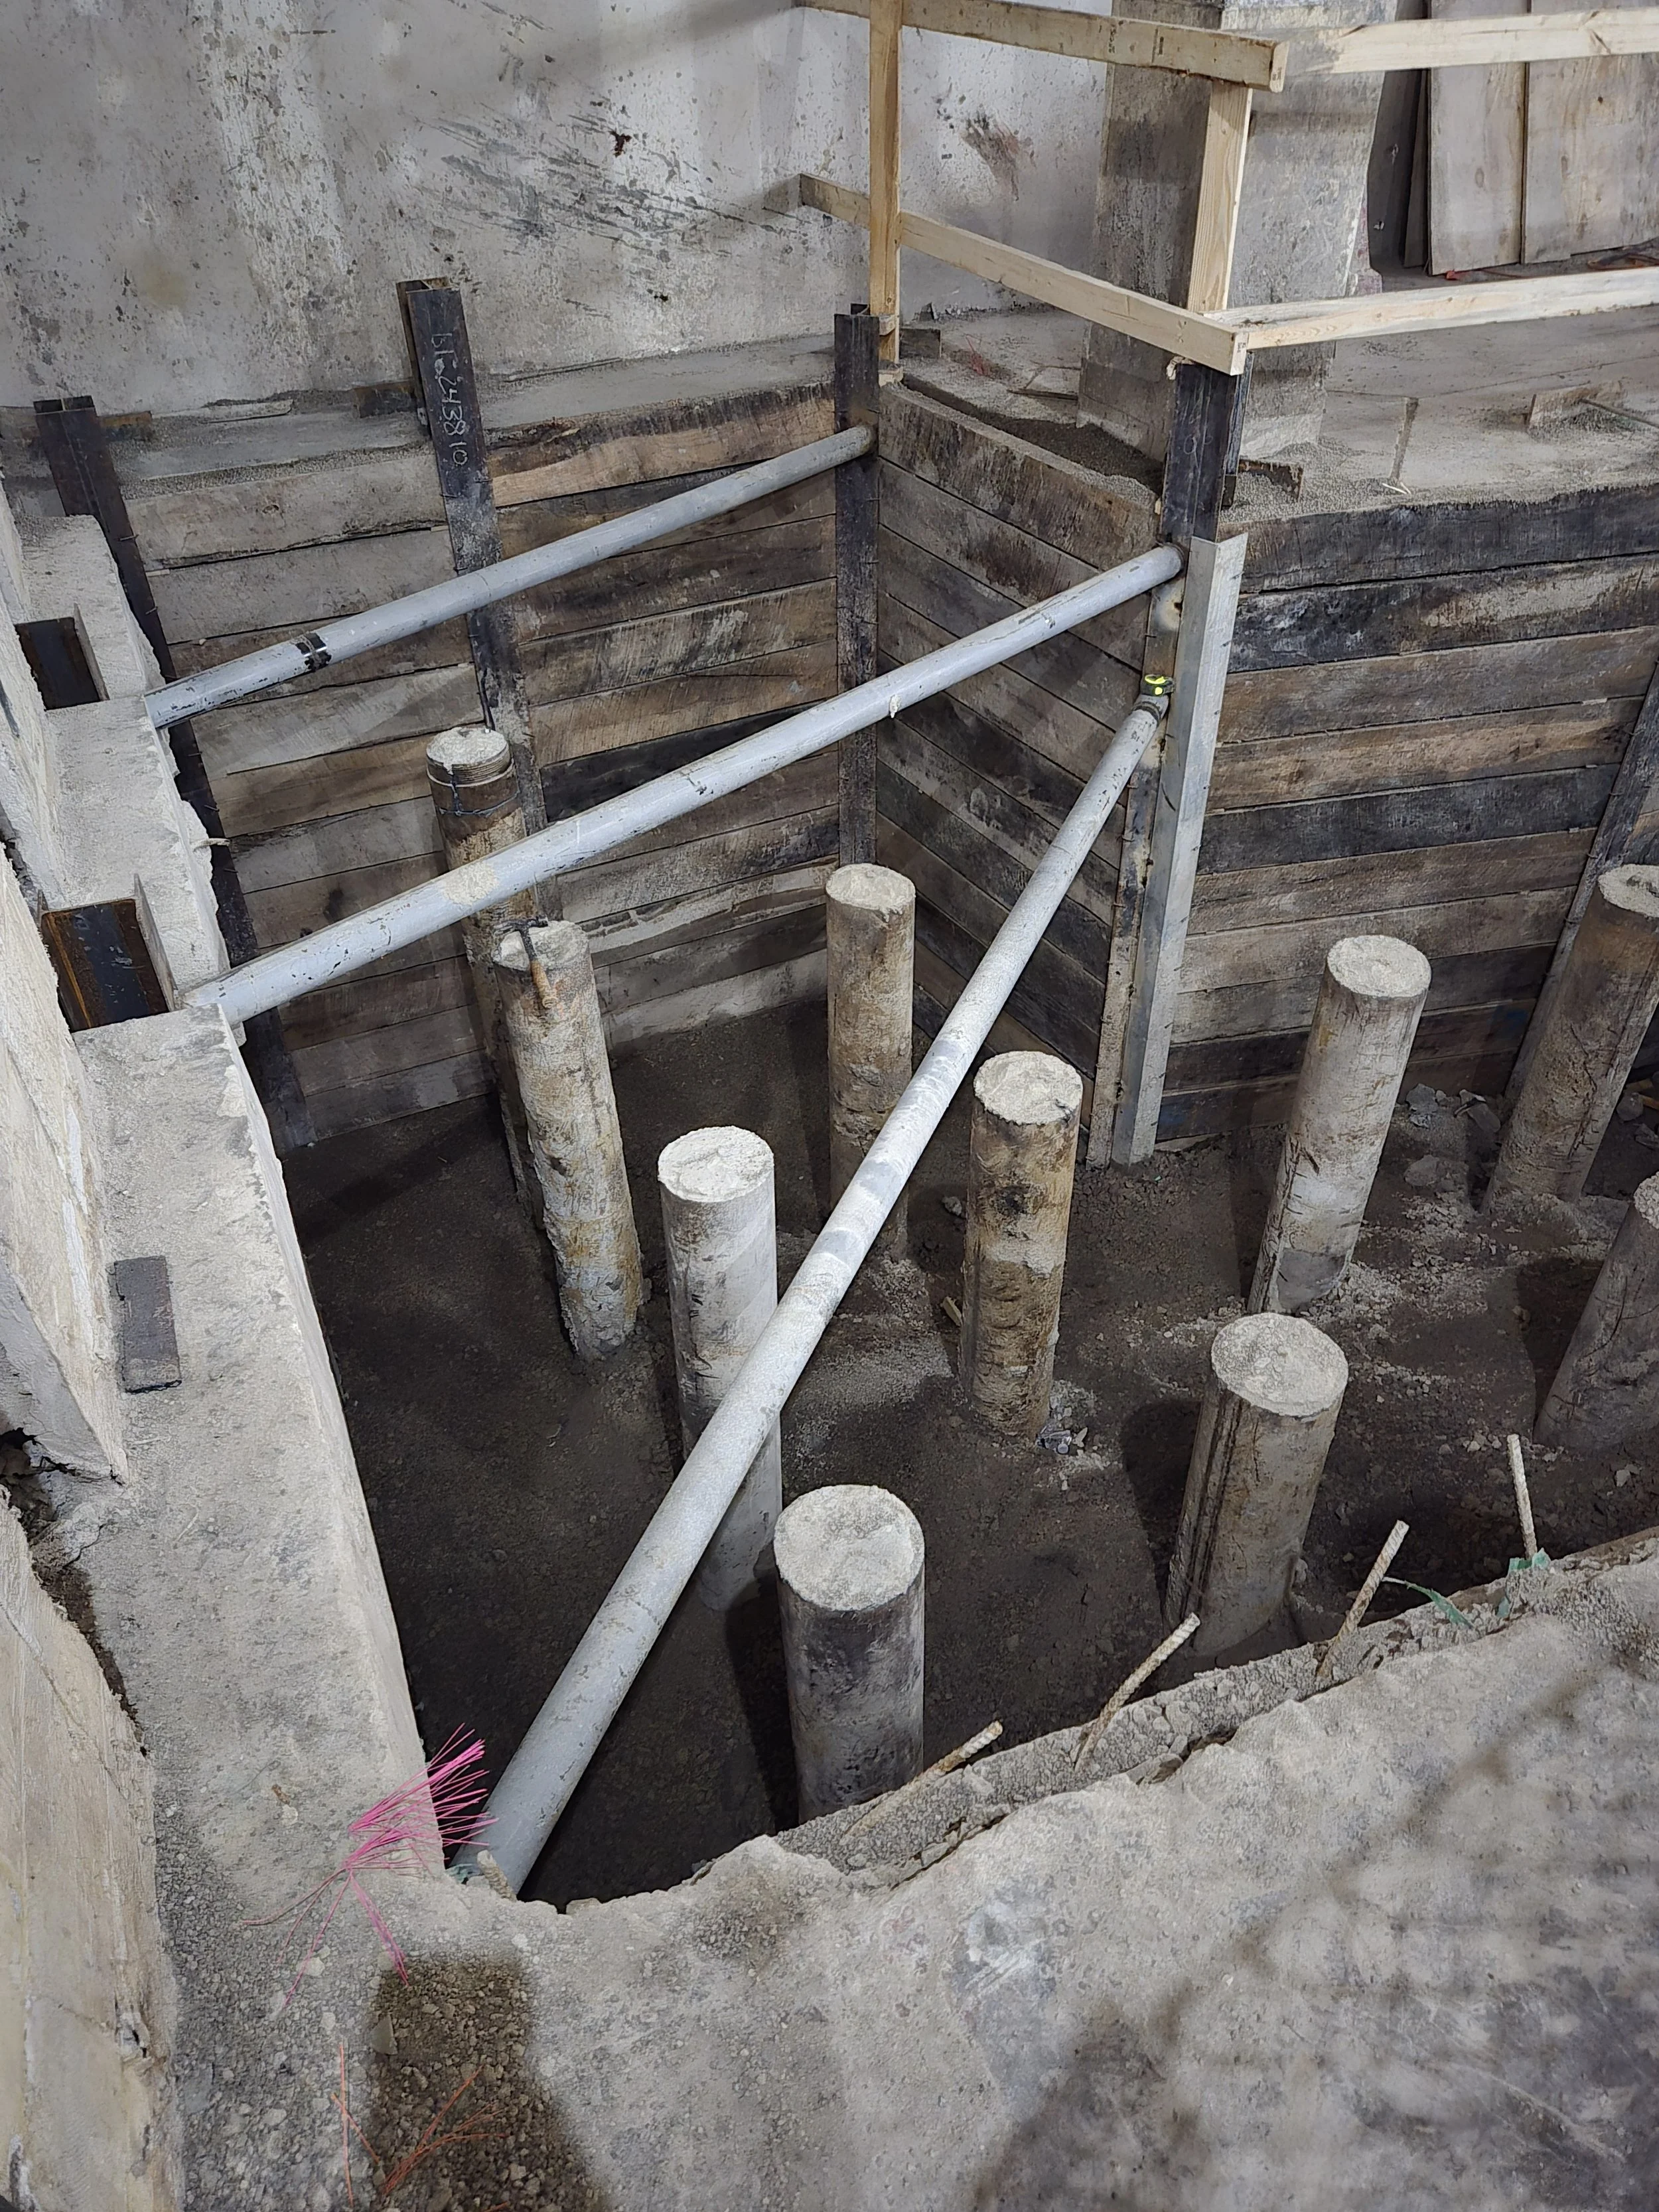
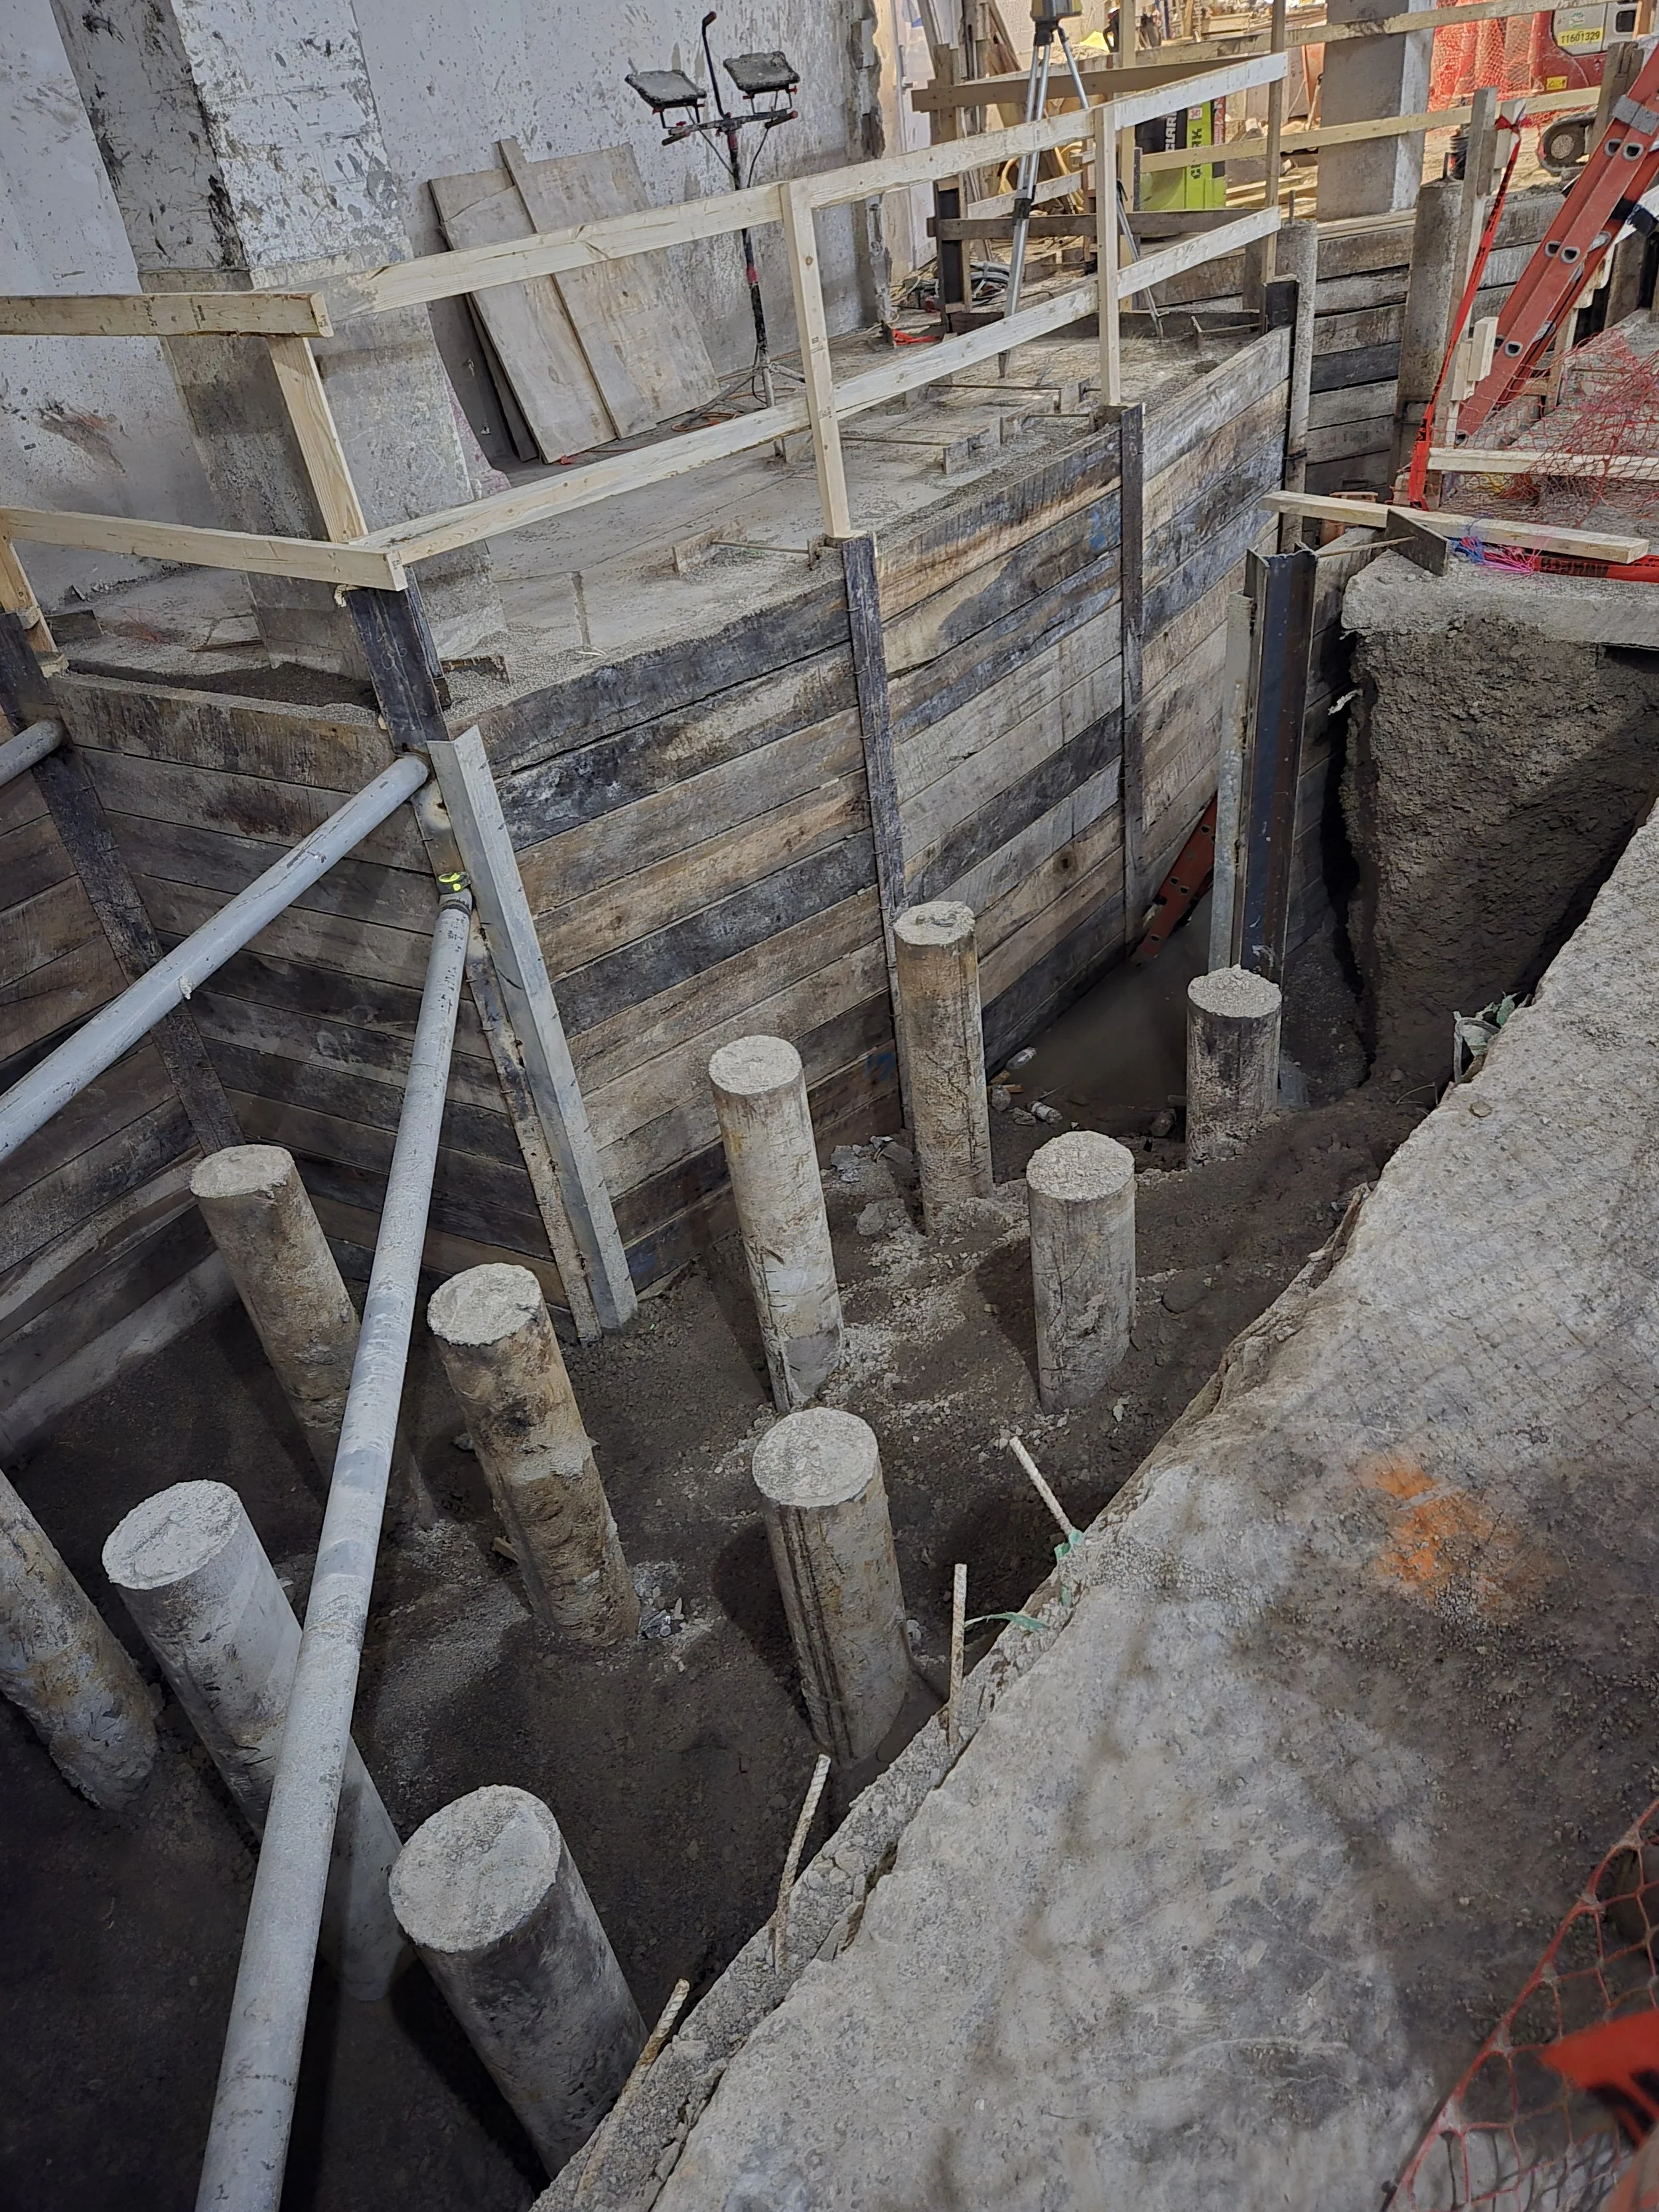
In one portion of the project, a confined approach pit was required to underpin isolated foundation elements.
This required:
Staged hand excavation
Temporary vertical supports installed incrementally
A grout working pad
Controlled board placement and retention Approach Pit Shield - Materials…
Underpinning isn’t just structural design — it’s choreography between excavation, support, and structural load transfer.
When done correctly, it feels uneventful.
That’s the goal.
Final Thought
Temporary shoring is often removed and forgotten.
But during construction, it carries real risk, real load, and real responsibility.
When excavation occurs next to existing structures, good shoring design doesn’t just hold back soil — it protects schedule, budget, and structural integrity.
If you’re planning a deep excavation in a constrained environment and want to talk through options before the digging starts, that’s exactly the right time to involve a structural engineer.